
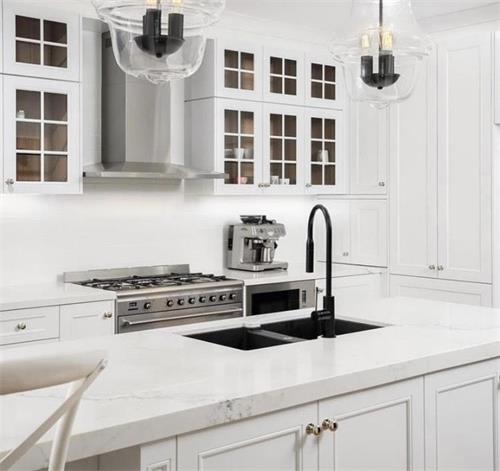





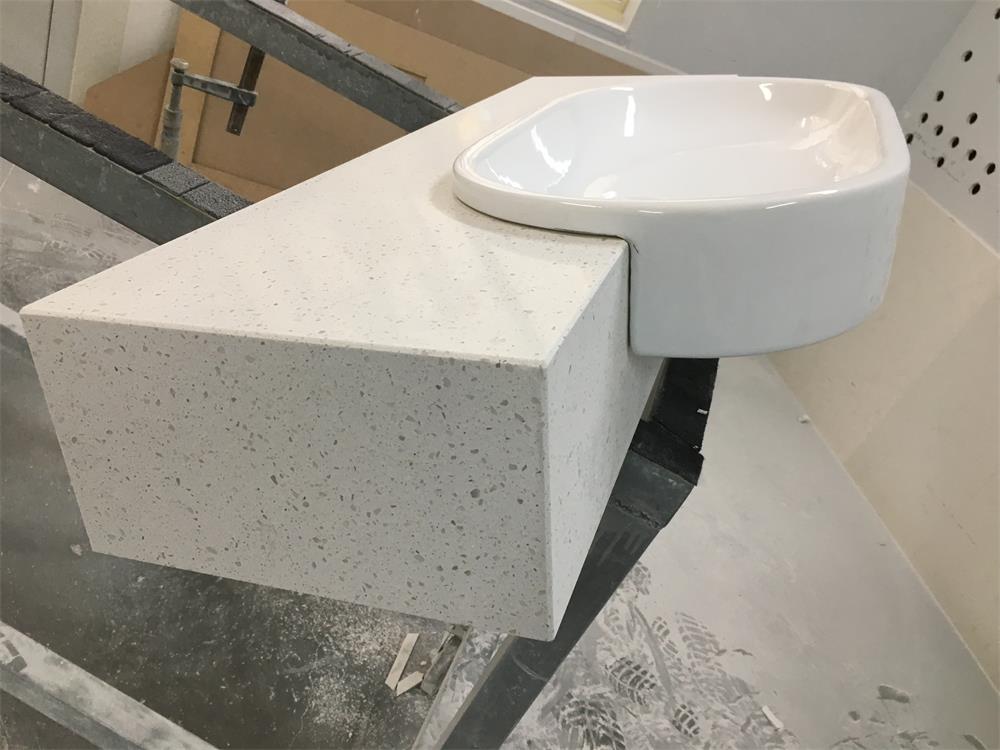











Professional quartz countertop installation transforms carefully selected slabs into functional kitchen or bathroom surfaces. Understanding the installation process helps homeowners prepare properly, verify quality, and recognize when installation is done correctly.
A typical quartz countertop installation involves:
Pre-installation: 1–2 weeks (template, fabrication scheduling)
Installation day: 4–8 hours for average kitchen
Curing time: 24 hours before use
Before installation day, several preparations ensure smooth installation:
Clear access paths: Remove obstacles from entry to installation area
Empty cabinets: Remove items from base cabinets
Disconnect plumbing: If sink or faucet replacement is involved
Remove old countertops: If applicable
Confirm electrical: Ensure any under-cabinet electrical is properly positioned
Verify measurements: Confirm template or laser measurements
Confirm material arrival: Slabs delivered and inspected
Schedule installers: Coordinate timing with other trades
Prepare tools: CNC equipment, adhesives, polishing tools
Precise measurements are critical for proper fit:
Modern installation uses laser or digital templating:
Laser measurement: Captures room dimensions to ±2mm accuracy
CAD design: Computer-aided design of cut patterns
Seam placement: Optimized for visual appearance and structural integrity
Cutout locations: Sink, cooktop, faucet positions marked precisely
Some installers still use physical templates:
Plywood or cardboard: Full-size templates of countertop sections
Luan strips: Form the edges of templates
Marked cutouts: Cutout locations transferred to template
Verification: Double-check measurements before fabrication
Cabinet level: Cabinets should be level within 3mm across full run
Wall straightness: Out-of-square walls may require filler strips
Appliance dimensions: Verify exact model specifications
Seam preferences: Discuss seam placement before fabrication
Slabs are cut and finished at the fabrication shop:
1. Slab selection: Final inspection of material 2. CNC cutting: Computer-controlled cutting of pieces 3. Cutout creation: Sink, cooktop, faucet cutouts 4. Edge profiling: Selected edge profiles applied 5. Polishing: Surface finish to specified gloss level 6. Quality inspection: Each piece checked before transport
Seam orientation: Planned for visual flow of patterns
Vein matching: For patterned slabs, vein direction aligned
Edge consistency: All edges matched in profile and finish
Cutout reinforcement: Areas around cutouts may need additional support
Before installation begins, verify:
Color consistency: All pieces match expectations
Surface finish: No scratches, chips, or defects
Dimensional accuracy: Pieces match templates
Edge quality: Profiles consistent and smooth
Cabinets level: Confirm level within tolerance
Substrate ready: If applicable, substrate properly installed
Support brackets: For overhangs, brackets installed
Plumbing rough-in: Connections ready for sink/faucet
The installation follows a systematic sequence:
Position pieces: Test fit before adhesive application
Verify seams: Confirm seam alignment and gaps
Check overhangs: Verify measurements match design
Confirm cutouts: Sink and cooktop positioning accurate
Cabinet preparation: Clean cabinet tops
Adhesive selection: Color-matched adhesive for seams
Seam adhesive: Special polyester or epoxy adhesive for joints
Mounting adhesive: Silicone or construction adhesive for cabinet mounting
Lower pieces: Carefully position onto cabinets
Seam joining: Bring seam pieces together
Level verification: Confirm level across all sections
Clamping: Apply pressure to seams during adhesive cure
Seam filling: Color-matched adhesive applied to joints
Excess removal: Clean excess adhesive before full cure
Seam leveling: Hand-polish seams flush with surface
Final polishing: Touch up any marks from installation
Backsplash installation: If separate backsplash pieces
Edge sealing: Silicone at countertop-wall junctions
Sink/cooktop mounting: Drop-in or undermount installation
Faucet installation: If part of the project scope
After countertop installation:
Sink connection: Hook up drain and supply lines
Faucet installation: Mount and connect faucet
Dishwasher connection: Connect to sink drain
Water line testing: Check for leaks
Cooktop installation: Connect gas or electrical
Range installation: Position and connect
Other appliances: As specified in the project
Seam quality: Seams tight and color-matched
Level verification: Final check across all surfaces
Edge quality: No chips or rough spots
Surface condition: No installation marks
Backsplash joint: Silicone caulk at wall junction
Sink perimeter: Seal around sink edges
Cooktop perimeter: Seal around cooktop cutout
Other junctions: As needed for water protection
Solution: Shimming during installation, possibly cabinet adjustment before installation
Solution: Filler strips or scribing the backsplash to wall irregularities
Solution: Pre-cutting slabs into manageable pieces for transport
Solution: Slab selection during fabrication, possibly re-cutting
Solution: Color-matched adhesive, careful seam placement, professional polishing
Quartz countertop installation is generally not recommended as DIY because:
Slabs are extremely heavy (typically 200–400 kg per slab)
Cutting requires specialized equipment
Seams require professional-grade adhesive and techniques
Errors can result in costly material damage
Warranty often requires professional installation
Manufacturer warranty validation
Commercial projects
Complex layouts with multiple seams
Premium installations requiring pattern matching
Manufacturer referrals: YDL Stone maintains installer network
Trade associations: National and regional stone industry groups
Better Business Bureau: Reviews and complaints check
References: Recent installations for evaluation
Labor: $20–$50 per square foot
Cutout fees: $50–$200 per cutout
Edge profile upgrade: $10–$40 per linear foot
Sink installation: $200–$500
Removal of old countertops: $5–$15 per square foot
Measurement and templating
Transportation to site
Installation labor
Standard seam adhesive
Basic edge polishing at seams
Demolition of old countertops
Plumbing and electrical work
Backsplash installation
Premium edge profiles
Sink and faucet installation
Avoid placing heavy objects on seams
Don't use the sink (if applicable)
Allow adhesive to fully cure
Use only mild soap and water for cleaning
Avoid harsh chemicals
Check seams and caulking
Follow manufacturer care guidelines
Address any issues promptly
Maintain documentation
Signs of quality installation:
Tight seams: Less than 1mm visible joint
Level surface: No rocking of items placed on counter
Proper support: No flex when weight applied
Clean caulking: Even, smooth caulk lines
Color-matched seams: Adhesive matches slab color
Professional finish: No visible installation marks
Gaps in seams: Visible separation between pieces
Uneven surface: Counter rocks or wobbles
Rough edges: Chips or rough spots on edges
Mismatched seams: Color or gloss differences at joints
Poor caulking: Gaps or messy caulk lines
How long does quartz countertop installation take? Most kitchen installations take 4–8 hours, with larger or more complex projects taking longer.
Can quartz countertops be installed over existing countertops? Generally not recommended. Existing countertops should be removed for proper installation.
Do I need to be home during installation? Yes, or have a decision-maker available for any issues that arise.
What time of day is best for installation? Morning start allows full day for installation and any unexpected issues.
How soon can I use my new countertops after installation? Most installers recommend waiting 24 hours before heavy use to allow adhesive to fully cure.
What if my cabinets aren't level? Good installers can shim countertops to compensate, but severely unlevel cabinets should be corrected before installation.
For homeowners and contractors planning quartz installations, YDL Stone provides installer referrals, fabrication specifications, and installation guidance through our network of certified fabrication partners.
Contact our installation team for installer referrals, fabrication specifications, and project planning support.