











INSIGHTS
Quartz Countertop Seams: What Makes an Invisible Join
Source: | Author:YDL Stone Editorial Team | Published time: 2026-10-13 | 4 Views | 🔊 Click to read aloud ❚❚ ▶ | Share:

Quartz Countertop Seams: What Makes an Invisible Join

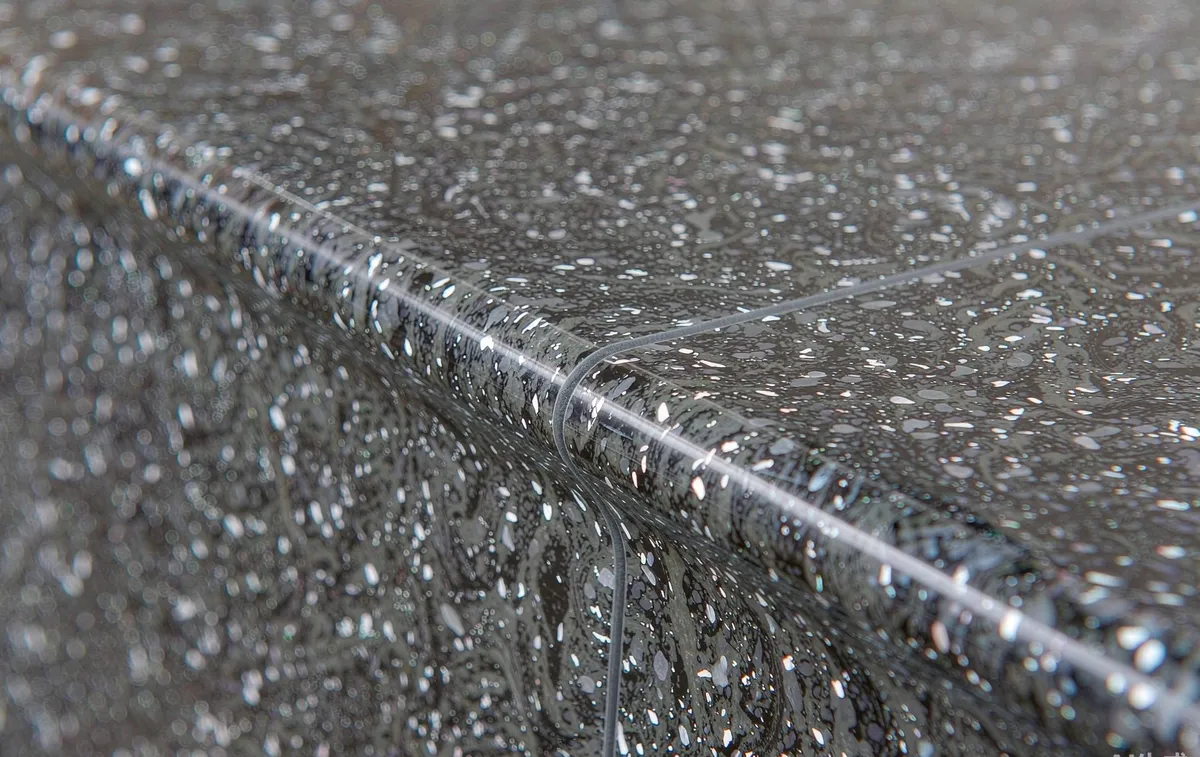
Ask five homeowners what worries them most about a new countertop and seams top the list. Yet in well-fabricated quartz kitchens, seams are so precise that guests run their hands across them without finding the joint. Seam quality is not luck — it is the product of planning, tooling, and disciplined installation. Understanding the mechanics helps buyers demand (and recognize) a professional result.

Why Seams Exist at All

Slab dimensions (typically 3000-3200 mm long) occasionally exceed a run's length; L-shaped and U-shaped kitchens always exceed them. Fabricators minimize seams in the layout phase — but where seams must exist, quality is decided by four factors.

The Four Pillars of an Invisible Seam

1. Placement Strategy

  • Away from focal points: Seams belong over dishwashers or at ranges, not centered on islands or under pendant lights
  • Not on weak substrates: Never span a sink or cooktop cutout, and never land a seam on a unsupported cabinet gap
  • Vein awareness: On veined material, seams are planned on the layout drawing (OPT) so patterns continue across the joint

2. Precision Cutting

A seam is only as tight as its two edges:

  • CNC or bridge-saw cutting produces edges true to within a millimeter
  • Hand-cut or chipped edges force wide, visible epoxy lines
  • Mitered edges (waterfalls, thick-edge looks) demand the highest cutting precision of all

3. Color-Matched Adhesive

Seam epoxy is tinted to the slab's base color — quality fabricators carry pigment kits and match on site. On veined material, some fabricators inject fine color fragments to mimic the vein crossing the joint. A straight, hairline epoxy line disappears; a wide, mismatched one announces itself.

4. Leveling and Clamping

Seam leveling tools pull the two slabs into perfect plane alignment:

  • Level across the joint so a fingernail cannot catch the transition
  • Equal, hairline glue channel — over-tightening starves the joint; under-tightening leaves a ridge
  • Full cure time before sink and cooktop cutouts are finished

Seam Quality Checklist for Homeowners and Site Supervisors

  • [ ] Seam agreed and marked on the layout drawing before cutting
  • [ ] Slabs dry-fitted and veining aligned before final placement
  • [ ] Epoxy color-matched to the slab in daylight
  • [ ] Joint flush — run a fingernail across; no step, no catch
  • [ ] Seam line straight and hairline, following the veining direction where applicable

Acceptable Seam Realities

Even excellent work has limits worth knowing:

  • Pattern interruption: On bold veined slabs, a seam interrupts the pattern slightly — placement minimizes it, physics cannot erase it
  • Temperature movement: Quartz expands with heat; professional seams allow for movement without cracking
  • Matte vs polished: On honed material, seam areas are re-honed after joining to match the finish

Frequently Asked Questions

How wide should a good quartz seam be? A professional seam reads hairline — under 1 mm of visible epoxy line when done well.

Can seams be completely invisible on marble-look quartz? Nearly — with vein-matched layout and skilled color-matching, most guests never find the joint. Bold high-contrast veins are the hardest.

Where is the best place for a seam? Over an appliance or in the least-viewed run, never across a sink or cooktop cutout, never mid-island.

Can a bad seam be fixed? Often improved: re-coloring, re-leveling, and re-filling can rescue most joints; full replacement is the last resort.

Fabrication Standards That Show

YDL Stone supplies premium quartz slabs in batches matched for seam work, and supports fabricators with layout guidance for veined materials. Talk to our team about slab selection for seamless-looking installations.